Category: Technical Guides

  • RTO Overhaul Spare Parts Planning: Build a Criticality-Based Outage List

    RTO Overhaul Spare Parts Planning: Build a Criticality-Based Outage List

    RTO Overhaul Spare Parts Planning: Build a Criticality-Based Outage List

    An RTO outage rarely fails because every spare part is unavailable. It fails when one small, long-lead or poorly identified item is discovered after the equipment is already open. A useful spare-parts plan therefore starts with consequence and evidence, not with a generic catalogue export.
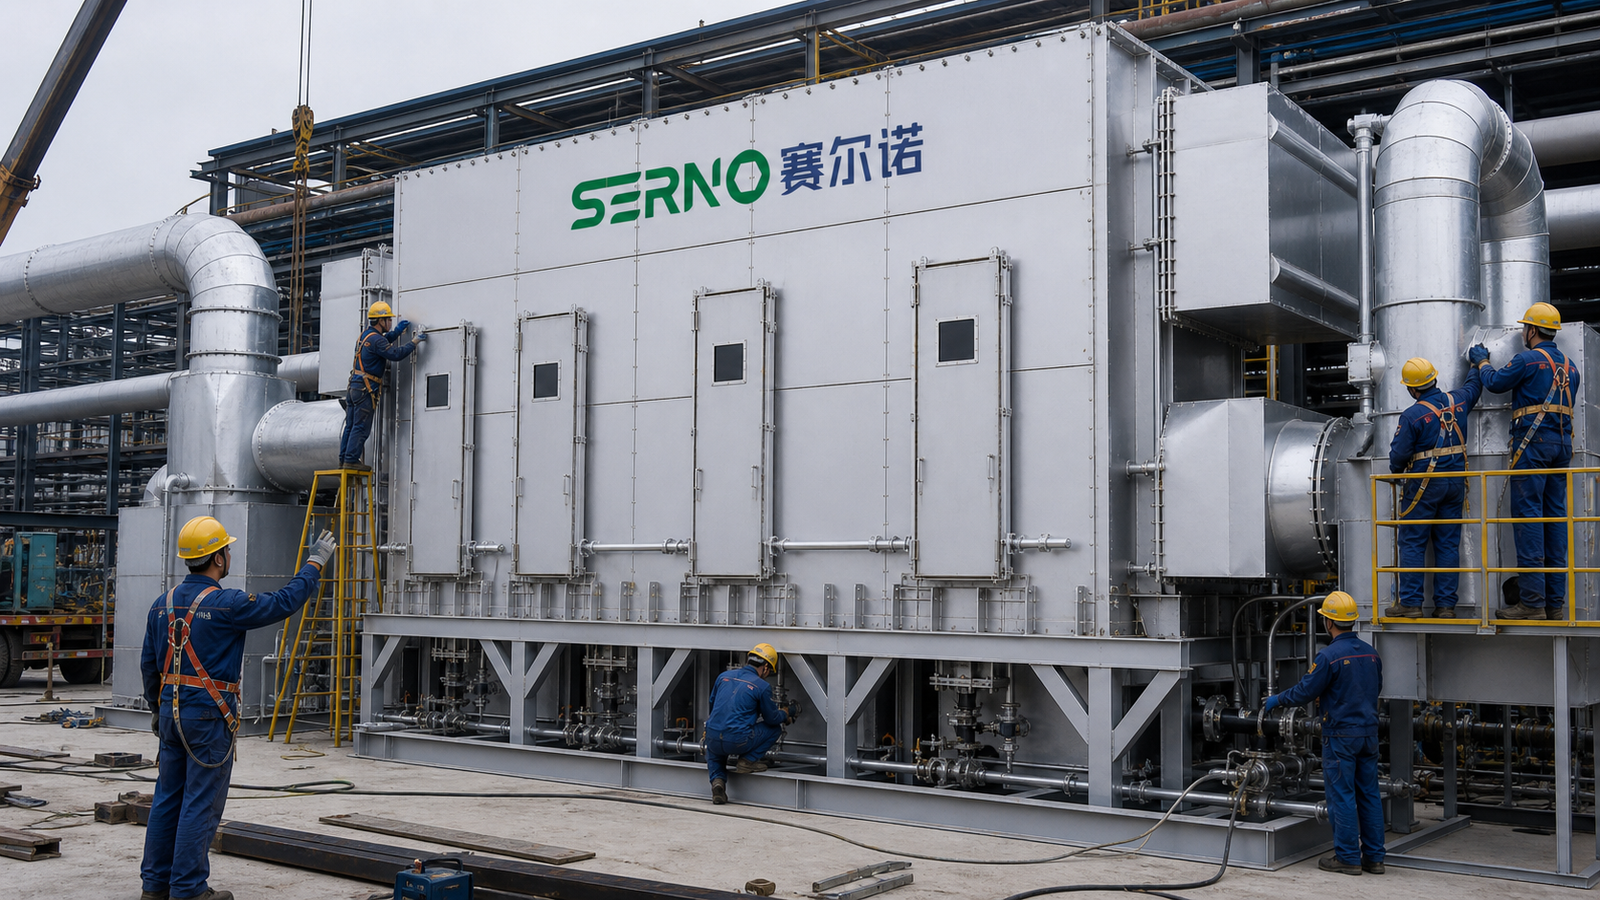
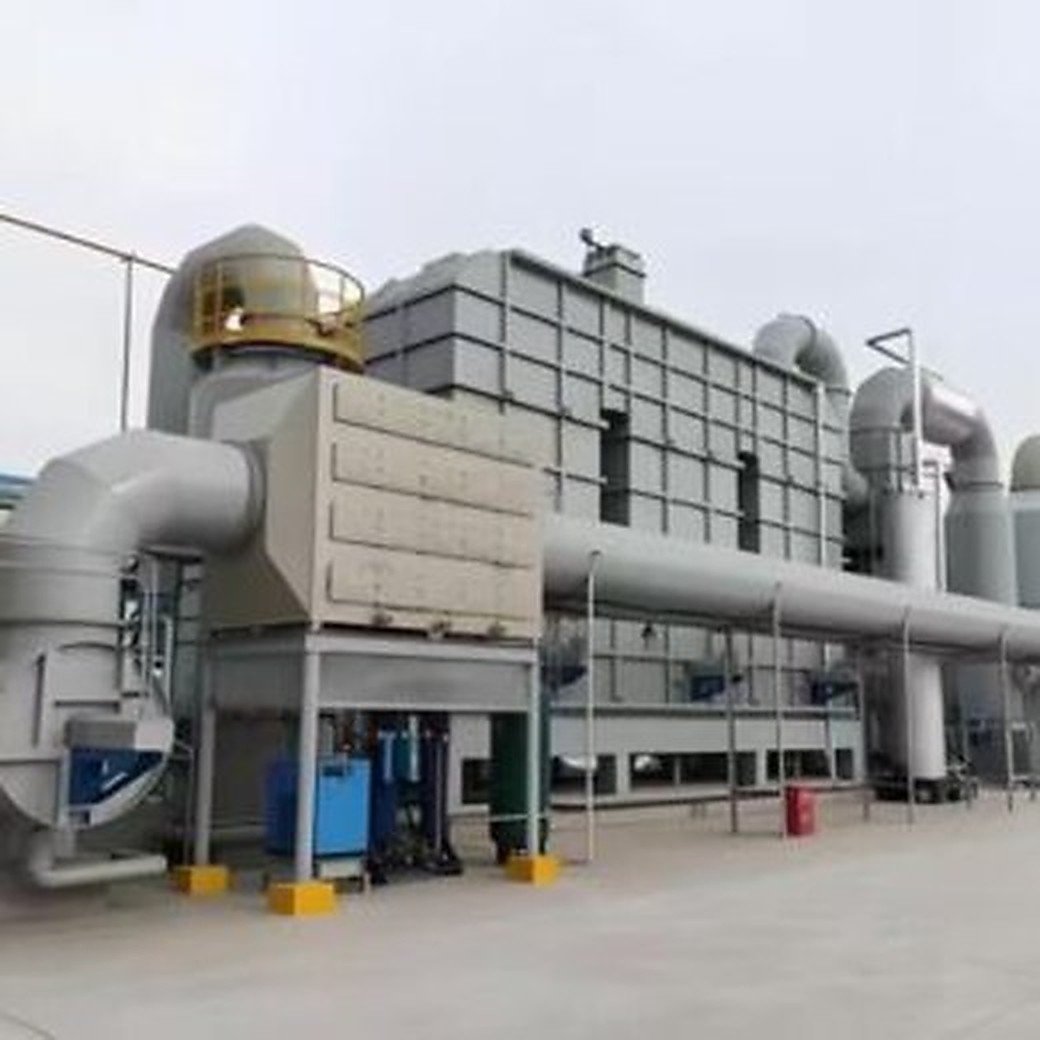
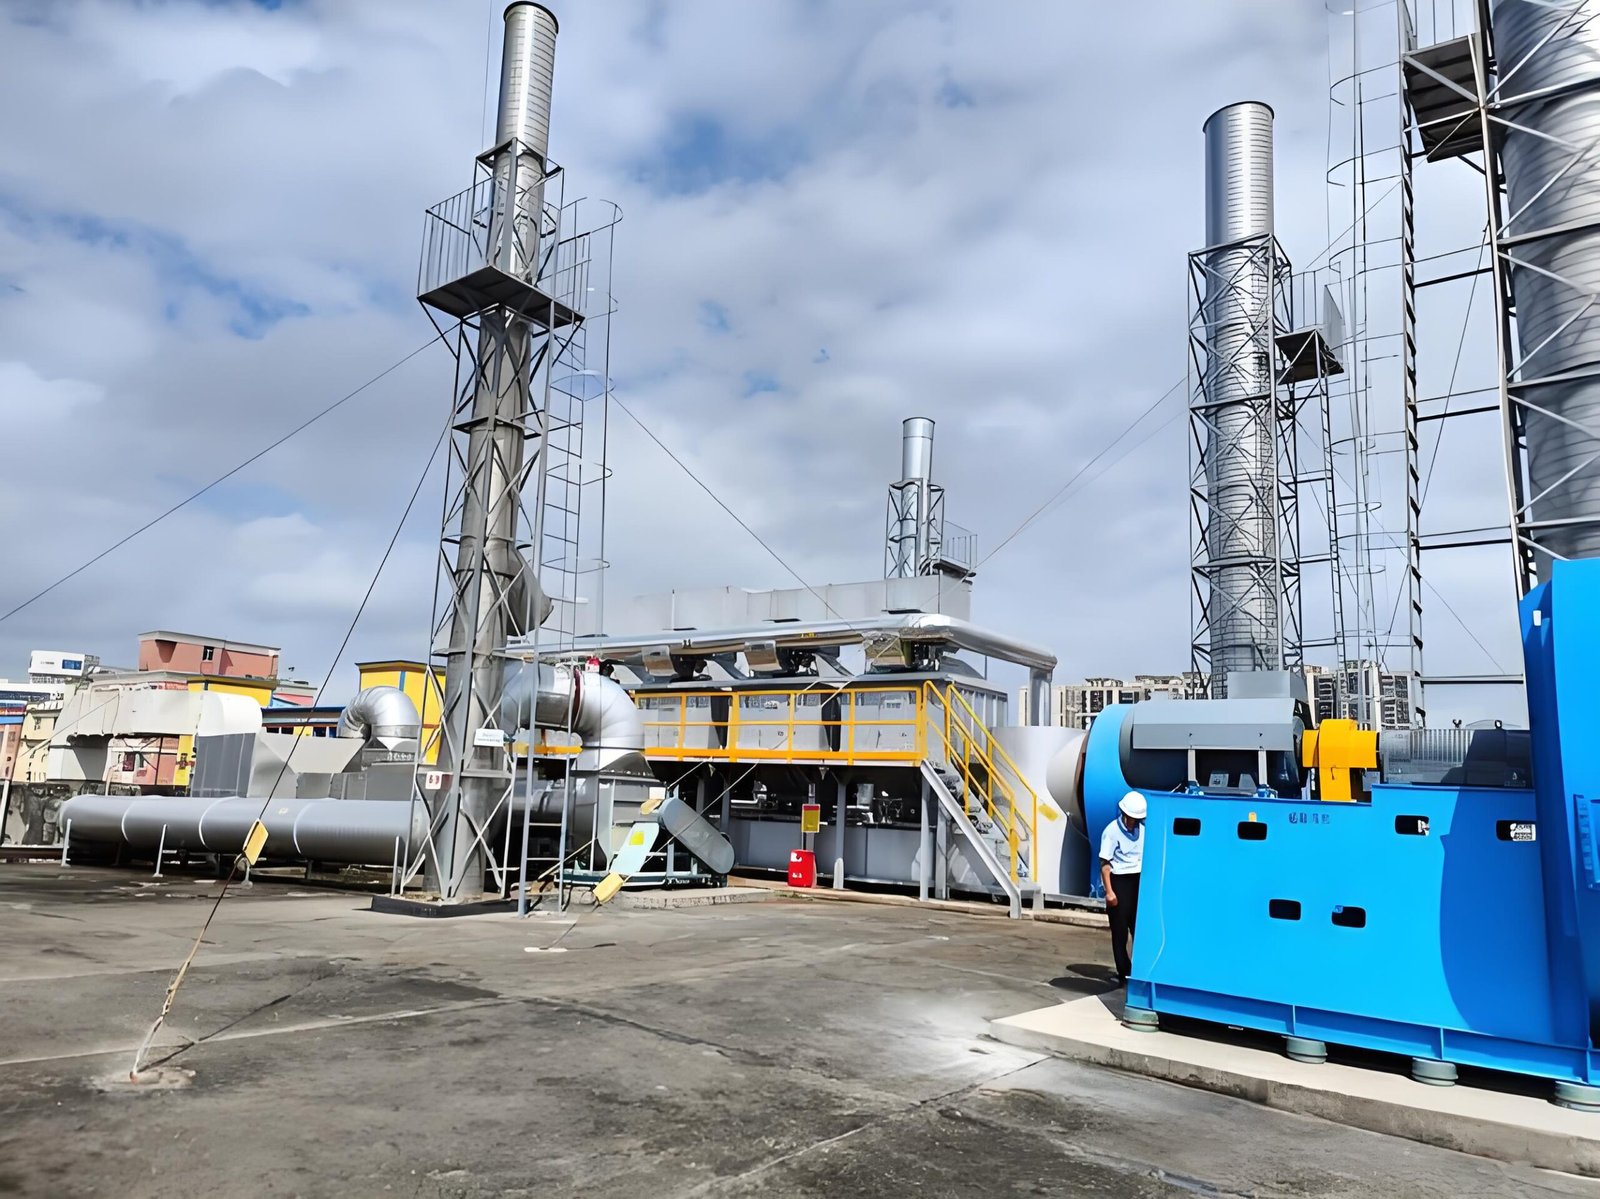
    Maintenance planners reviewing RTO overhaul spare-parts priorities beside industrial oxidation equipment

    This guide shows how owners and procurement teams can build an RTO overhaul spare-parts list that protects the outage window while keeping inventory decisions explainable.

    1. Define the overhaul boundary before listing parts

    Freeze the scope by equipment boundary: burners and fuel train, valves and actuators, dampers, expansion joints, fans and flexible connections, instrumentation, refractory and insulation, rotor seals or media, and controls hardware. Record what is inspected, replaced, refurbished or merely available on site. A boundary prevents a low-cost consumable from hiding an unplanned actuator, seal kit or refractory repair.

    2. Rank criticality by consequence, not unit price

    Use four questions for each item: Can its failure stop the train? Can it create an unsafe condition or bypass? Is there a temporary workaround? Is the part common with another train? A high-cost item may be low criticality when a proven substitute exists; a modest gasket or position switch may be high criticality when it blocks a safe restart.
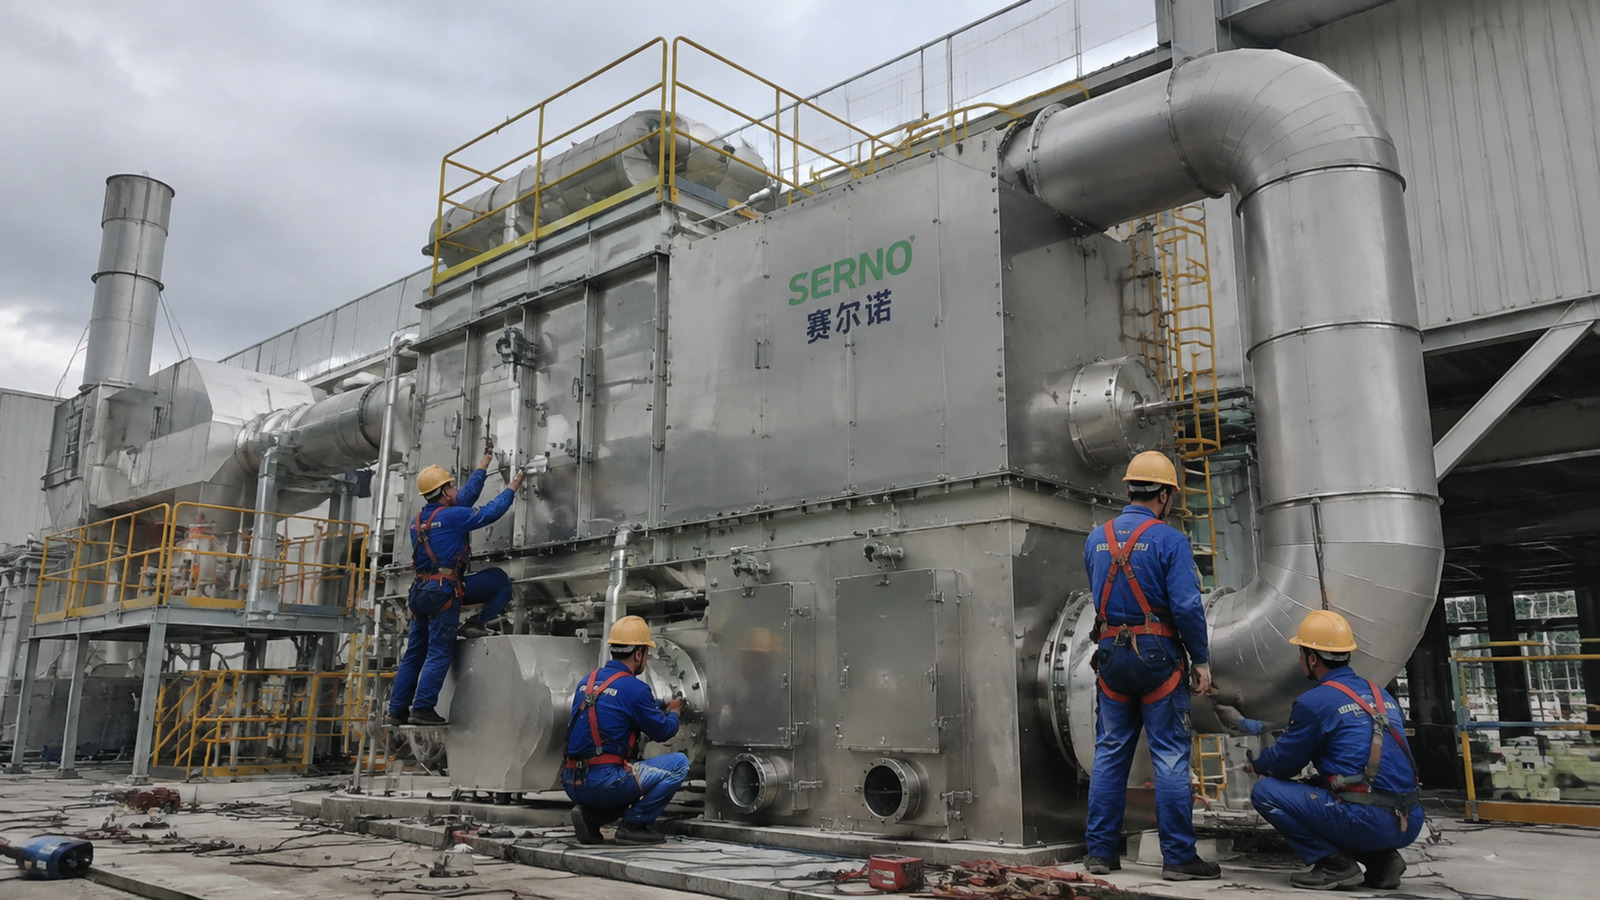
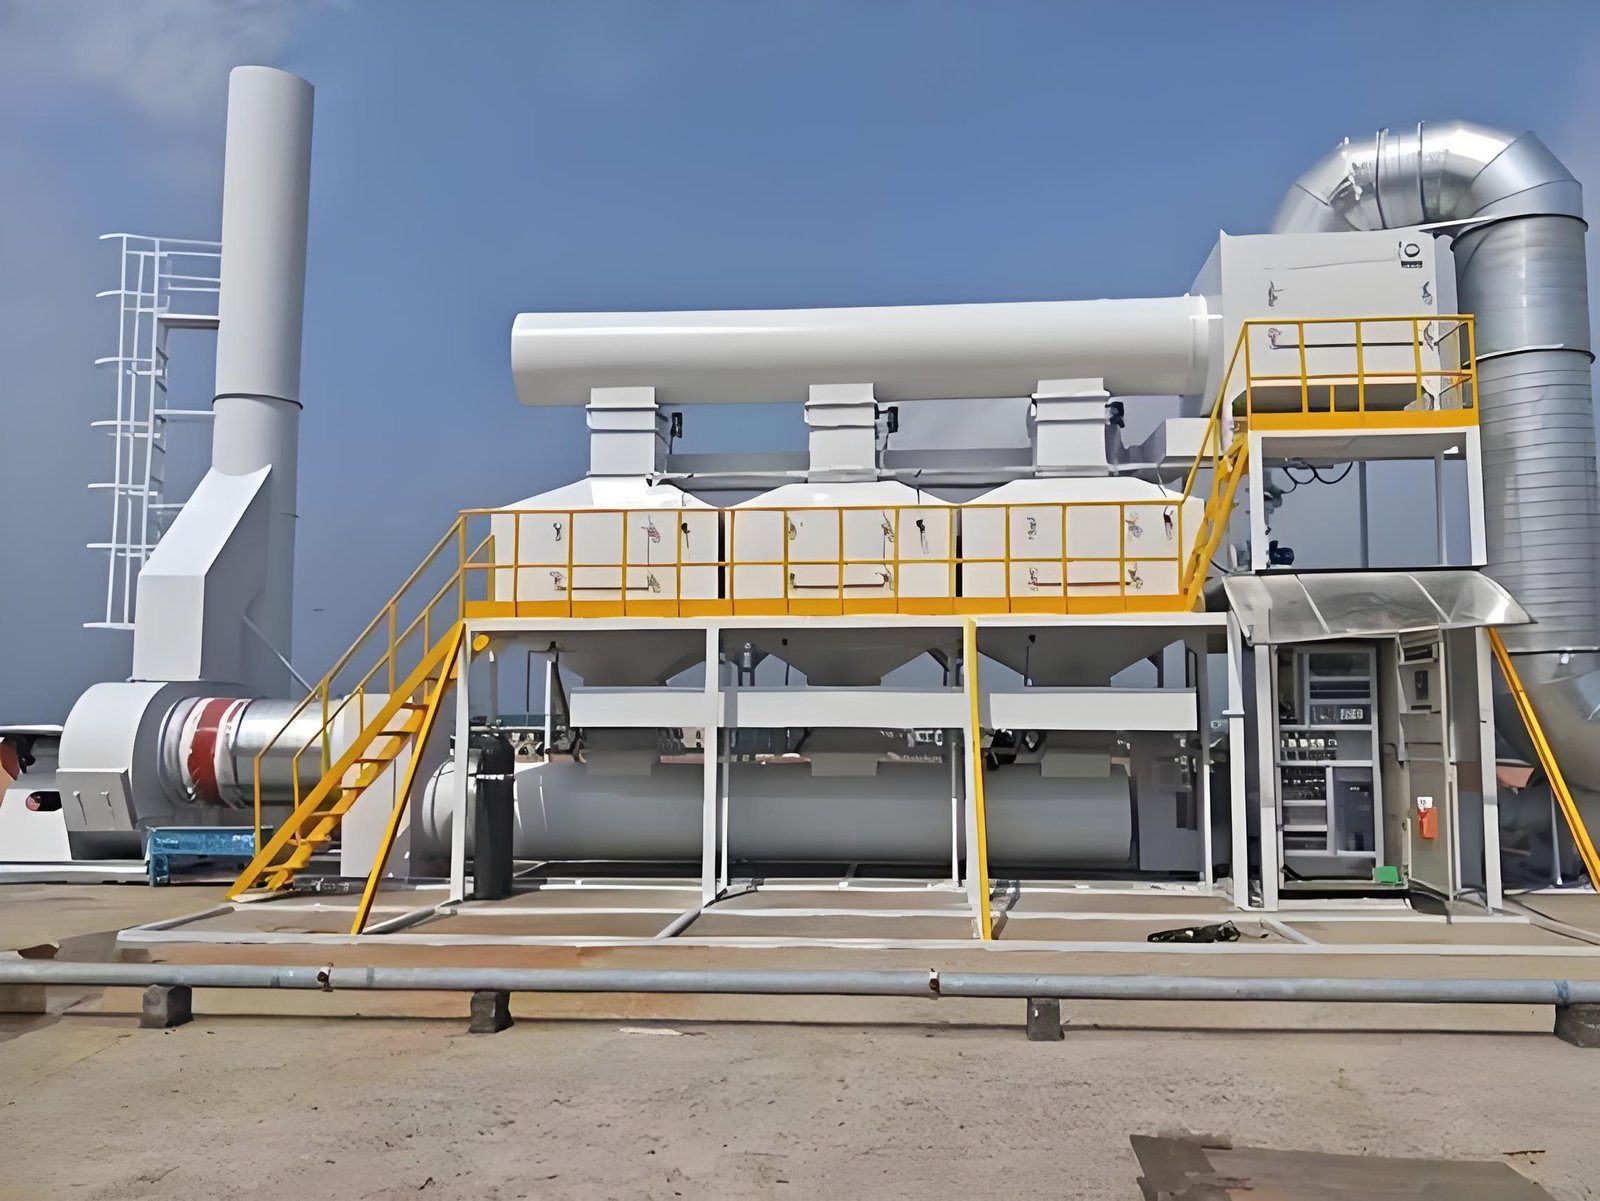
    RTO maintenance spare parts and fit evidence prepared for an outage work pack

    3. Combine lead time with evidence of fit

    For every candidate spare, capture manufacturer, model, revision, dimensions, material, connection, pressure/temperature class where applicable, and the evidence source: nameplate photo, drawing, bill of materials, previous purchase order or maintenance record. Treat an unverified description such as “damper seal” as a data-quality risk. Lead-time status should distinguish quoted, historical, assumed and unknown.

    4. Use a practical critical-spares matrix

    ClassConsequenceLead-time signalProcurement action
    A – outage criticalNo safe restart or major scope impactLong, uncertain or customConfirm fit, reserve early and obtain an alternate source
    B – schedule criticalCan extend outage or commissioningMedium or vendor-dependentOrder against the frozen scope and verify delivery
    C – maintainableWorkaround or local replacement existsShort/commonStock a controlled quantity and document substitute limits
    D – consumableRoutine replacement, low consequenceShortBuy to the work pack and avoid uncontrolled overstock

    The class is a decision aid, not a universal engineering standard. Plant procedures and hazard reviews remain the governing documents.

    5. Protect the long-lead path

    Set an evidence date for each A and B item. Confirm whether the quote is for a complete assembly or only a repair kit, whether drawings require approval, and whether factory testing or site acceptance adds time. Keep a second line for “fit still to verify” so procurement does not create false certainty.

    6. Build the outage work pack around the list

    Link each spare to an equipment tag, task, inspection hold point and acceptance record. Include receiving inspection, storage conditions, preservation period, lifting or handling needs, and the person who releases the part for installation. For seals, valves, refractory modules and instruments, photograph the removed item and record dimensions before disposal where safe.

    7. Review commonality without assuming interchangeability

    Two trains may use visually similar valves, actuators or instruments but differ in signal, torque, materials, mounting, fail position or software configuration. Commonality is useful only after engineering fit is documented. A controlled cross-reference can reduce stock while keeping the replacement decision auditable.

    8. Procurement checklist for the final release

    • Equipment tag and service boundary
    • Part description, manufacturer and exact model/revision
    • Quantity installed, quantity to replace and recommended contingency
    • Fit evidence and unresolved questions
    • Criticality class and failure consequence
    • Quoted lead time, validity date and delivery milestone
    • Inspection, preservation and storage requirements
    • Substitute or repair route, with approval owner
    • Link to the outage task and restart acceptance evidence

    FAQ

    How early should an RTO spare-parts review start?

    Start when the outage scope is sufficiently defined to identify equipment boundaries, then revisit the list at design freeze, purchase release and pre-shutdown receiving. The correct timing depends on vendor lead times and the plant schedule; do not assume a universal number of weeks.

    Should every spare be purchased before the outage?

    No. Buy or reserve items whose absence can stop safe restart or materially extend the outage. Use documented workarounds or local procurement only for lower-criticality items where the engineering and safety basis is clear.

    What is the most common data error?

    Ordering from a generic description without confirming model, revision, dimensions, materials, fail position or control interface. The remedy is an evidence field and an owner for each unresolved identification.

    Does a critical-spares matrix replace an engineering review?

    No. It organizes procurement decisions. Engineering, EHS and site procedures still determine isolation, compatibility, hazardous-area requirements and restart authorization.

    Professional CTA

    Planning an RTO, rotor RTO, RCO or catalytic-combustion overhaul? Share the equipment boundary, outage objective and available drawings with SERNO. Our engineers can help turn the scope into a reviewable technical question set and procurement work pack without assuming unverified performance data.
  • RTO Alarm Rationalization: Build a Trip-Response Matrix Operators Can Use

    RTO Alarm Rationalization: Build a Trip-Response Matrix Operators Can Use

    RTO Alarm Rationalization: Build a Trip-Response Matrix Operators Can Use

    An RTO can have hundreds of configured signals and still give operators too little useful guidance during a real upset. A high-high temperature alarm, a fan permissive failure and a valve-position mismatch may arrive within seconds of one another. If every event looks equally urgent, the control room sees noise rather than a sequence of cause and effect.

    Engineers reviewing RTO alarm history beside SERNO oxidation equipment

    RTO alarm rationalization is the disciplined process of deciding which abnormal conditions deserve an alarm, how each alarm should be prioritized, what automatic action follows and what the operator must do next. The goal is not to suppress inconvenient messages. It is to make every alarm actionable, traceable and consistent with the equipment’s operating philosophy.

    This guide shows how industrial buyers and plant teams can build a useful trip-response matrix without confusing alarms, permissives and protective trips.

    Start with operating modes, not the PLC tag list

    A raw tag export is a poor starting point because the same signal can mean different things during purge, heat-up, production, standby and shutdown. Map the normal sequence first. For each mode, identify which equipment is expected to run, which valves should be in position, which temperature and pressure signals are credible, and which transitions are time limited.

    This prevents nuisance alarms that are predictable during a normal transition. A low combustion-chamber temperature may be abnormal in production but expected early in heat-up. A process-fan stopped indication may be a trip consequence, not the initiating cause. Mode context belongs in the alarm definition.

    Separate alarms, permissives, interlocks and trips

    These terms should not be used interchangeably.

    • An alarm tells the operator that an abnormal condition requires awareness or action.
    • A permissive is a condition that must be satisfied before a command or sequence can start.
    • An interlock automatically changes or blocks equipment operation when defined logic is true.
    • A trip moves the system toward a safer state after a protective limit or logic condition is reached.

    One event may involve all four layers, but the documentation should show their relationship. For example, loss of combustion airflow can create an operator alarm, remove a burner permissive and initiate a burner trip. Listing three messages without the cause-and-effect chain makes troubleshooting slower.

    Define each alarm with evidence and a response

    Every retained alarm should have a documented purpose. At minimum, record the tag and plain-language message, operating modes in which it is active, setpoint basis, delay or debounce, priority, likely causes, automatic system action, required operator response, reset condition and restart authority.

    The setpoint basis matters. It may come from equipment protection, process stability, burner-management logic, instrument range or a site operating limit. The matrix should identify the basis without inventing a universal value. Appropriate limits depend on the installed design, fuel system, VOC stream, applicable rules and the site’s approved safety review.

    Use priority to represent consequence and response time

    Priority is not a measure of how often an alarm occurs. It should reflect consequence severity and how quickly an operator must act. A practical workshop asks two questions: What happens if nobody responds, and how much time is available?

    High-priority alarms should be rare and tied to defined immediate action. Medium-priority alarms normally require prompt diagnosis or intervention. Low-priority alarms can indicate developing conditions that should be addressed during routine operation. Notifications that require no operator action should usually be events or status messages rather than alarms.

    Do not assign high priority simply to force attention. Too many high-priority alarms remove the distinction operators need during an upset.

    Controls team verifying RTO alarm inputs and field feedback at SERNO equipment

    Build the trip-response matrix

    The matrix should let an operator understand the first-out cause, system action and safe next step without reading PLC code.

    ConditionEvidence to verifyTypical automatic actionOperator responseRestart boundary
    Process fan airflow lowFan status, VFD speed, differential pressure, damper positionHold or trip affected sequence according to approved logicConfirm airflow path; inspect fan, filter and damper evidenceAirflow proven and cause cleared
    Burner flame failureFlame signal trend, fuel-valve feedback, combustion-air statusClose safety shutoff valves; initiate approved purge logicDo not repeatedly reset; inspect flame detection and fuel/air evidenceBurner-management conditions satisfied
    Chamber temperature high-highIndependent temperature channels, rate of rise, VOC load trendRemove heat input and move system toward designed protective stateIdentify whether process load, valve leakage or instrument error initiated eventTemperature stable; initiating cause documented
    Valve position mismatchCommand, open/closed feedback, actuator air/power, travel timeBlock transition or trip if the valve is safety criticalInspect actuator, linkage, limit switches and obstructionRequired position is positively proven
    LEL signal highAnalyzer health, sample flow, calibration state, process sourceExecute site-approved dilution, diversion or shutdown logicFollow the approved site response; verify analyzer validityConcentration boundary and analyzer health restored

    The entries above are generic engineering examples, not universal setpoints or sequence instructions. The final matrix must match the approved cause-and-effect document and site safety review.

    Control alarm floods and identify the first-out event

    During a trip, dozens of downstream alarms may follow one initiating fault. The historian should preserve the sequence of events at adequate time resolution, and the interface should identify the first-out condition where the control architecture supports it.

    Review alarm floods by counting alarms in the minutes before and after a shutdown. Group consequential alarms under their initiating condition, apply mode-based suppression only where the logic is validated, and use delays only when a delay cannot hide a real hazard or equipment-protection need.

    Shelving should be controlled, time limited and auditable. A standing instruction to ignore a recurring alarm is evidence that the alarm or the underlying equipment problem has not been resolved.

    Validate the matrix during commissioning and after change

    Desktop review is not enough. Test representative alarm paths using approved commissioning procedures. Confirm the field signal, PLC state, HMI message, priority, audible indication, historian record, automatic action and reset behavior. Record who witnessed the test and which revision of the logic was used.

    Repeat relevant validation after instrument replacement, PLC or HMI modification, burner-service work, fan or damper changes, process expansion, recurring trips or a management-of-change action. A matrix that no longer matches the live logic is worse than no matrix because it creates false confidence.

    What buyers should include in an RTO controls scope

    For a new system or retrofit, request deliverables that make operation supportable after handover:

    • Cause-and-effect matrix with revision control.
    • Alarm list with priority, mode, delay, setpoint basis and operator response.
    • First-out and sequence-of-events requirements.
    • HMI alarm help text and naming conventions.
    • Commissioning test records for critical alarms and trips.
    • Backup and restoration procedure for PLC and HMI applications.
    • Defined responsibility for site integration, remote signals and process shutdowns.
    • Training that uses credible upset scenarios rather than screen navigation alone.

    These items allow technical comparison between proposals. A long tag list does not show whether an alarm system will be usable under pressure.

    FAQ

    Should every PLC diagnostic create an operator alarm?

    No. A diagnostic should become an alarm only when an operator must know about it and has a defined response. Other diagnostics may belong in maintenance views, event logs or condition-monitoring reports.

    Can nuisance alarms simply be delayed?

    Sometimes a validated delay is appropriate for signal chatter or a known process transient. But delay should not conceal poor instrumentation, unstable control, sticking hardware or an unsafe condition. Diagnose the cause before changing alarm timing.

    Who should approve alarm priorities?

    Use a cross-functional review involving operations, controls, process engineering, maintenance and EHS. Protective functions and burner-management logic also require the appropriate qualified specialists and the site’s formal change-control process.

    What is the most useful record after an RTO trip?

    A synchronized first-out event, sequence-of-events log and trend set covering the initiating signal, related commands, feedbacks, temperatures, pressures, airflow and process load. The exact channels depend on the installed system.

    Turn alarm data into an operating tool

    Alarm rationalization is complete only when operators can recognize the initiating condition, understand the automatic response and know the evidence required before restart. SERNO can review RTO operating modes, cause-and-effect documentation and controls scope with your engineering team. Share the existing alarm list, process sequence and recurring trip symptoms to begin a focused technical review.

  • Rotor RTO Seal Leakage Diagnosis: Prove Carryover Before Replacing Media

    Rotor RTO Seal Leakage Diagnosis: Prove Carryover Before Replacing Media

    Rotor RTO Seal Leakage Diagnosis: Prove Carryover Before Replacing Media

    Unexpected VOC carryover from a rotor concentrator does not automatically mean the zeolite media has failed. Untreated air can cross a worn peripheral seal, move between process and regeneration sectors through a radial seal, or bypass the rotor through a distorted casing interface. The resulting outlet trend may look similar to lost adsorption capacity, yet the corrective work is completely different.

    SERNO rotor RTO equipment during seal and casing inspection at an industrial plant

    A disciplined rotor RTO seal leakage diagnosis treats the rotor, seals, sector pressures, drive and sampling system as one operating boundary. The objective is to prove where gas can move before changing rotor speed, increasing desorption temperature or ordering replacement media.

    Define the symptom and operating case

    Start with a repeatable operating case. Record production source, inlet VOC composition where known, inlet concentration trend, total airflow, process and desorption temperatures, humidity or condensation risk, rotor speed, fan frequencies, damper positions and the time since startup or a process change. Note whether the symptom is continuous, periodic with rotor rotation, limited to high load, or strongest during warm-up.

    Confirm that inlet and outlet samples represent the same process interval. A long analyzer transport delay or samples taken across changing production can create an apparent removal problem. Review calibration and sample-line condition before using one number to condemn the rotor or its seals.

    Understand the leakage paths

    Peripheral seals control flow around the rotor circumference. Radial seals separate adjacent sectors across the rotor face. Axial or face-clearance errors can reduce contact or create local gaps, while a casing distortion or debris track can hold a seal open. The purge sector and its pressure relationship may also allow concentrated gas to enter the treated-air path if flow direction is wrong.

    Leakage depends on both physical clearance and differential pressure. A small gap can become important when the pressure boundary drives untreated or concentrated gas toward the clean sector. That is why a visual seal check without pressure data is incomplete.

    Build an evidence matrix before shutdown

    Use stable trends to decide where the inspection should focus. The following matrix does not replace the equipment manual or site safety procedure; it organizes the evidence needed for a controlled diagnosis.

    ObservationPossible seal-related causeCompeting explanationUseful check
    VOC carryover changes with rotor positionLocal radial or peripheral gapMedia contamination in one segmentCorrelate outlet trend with indexed rotor position
    Carryover rises after fan or damper changePressure-driven cross-leakageChanged inlet loadingCompare sector pressures and inlet mass loading
    Performance worsens as equipment warmsThermal growth changes face clearanceAnalyzer drift or desorption instabilityCompare cold and stable-hot clearance evidence
    Rub marks or dust tracks appear at one arcMisalignment, runout or seal loadingLoose debris from upstreamMeasure runout and inspect the complete track
    Clean-sector VOC rises with purge upsetIncorrect purge pressure or seal pathProcess concentration stepVerify purge airflow direction and pressure

    Do not interpret a single temperature or VOC reading in isolation. A strong diagnosis connects mechanical evidence with a reproducible operating change.

    Inspect seals, rotor position and drive condition

    After the rotor is isolated, cooled and released under the site’s lockout and confined-space rules, inspect the full circumference and each sector boundary. Record seal continuity, compression or clearance, fasteners, spring elements, joints, overlap direction, deposits, tears, hardening and heat damage. Photograph rub marks and dust tracks with an indexed rotor position so they can be compared after rotation.

    Check rotor axial position, radial runout, bearing condition, support-wheel contact, shaft or hub condition and drive-chain or belt tracking as applicable. A new seal will not remain effective if the rotor is misaligned or the support system allows excessive movement. Rotate only by the approved maintenance method and confirm that clearances remain acceptable through a complete revolution.

    Verify sector pressure and purge direction

    Map pressures at comparable operating conditions on each side of the rotor and across process, purge and desorption sectors. Confirm the tap locations and instrument ranges; a blocked pressure tap can send the investigation in the wrong direction. The desired pressure hierarchy depends on the system design, so use the supplier’s approved basis rather than a generic target value.

    Where the control system permits, make only one bounded change at a time and observe whether carryover responds in the predicted direction. Avoid using large fan or damper changes as a diagnostic shortcut: they may disturb capture at the production source or move the system outside its thermal and safety limits.

    Technicians inspecting SERNO rotor concentrator casing and duct interfaces for leakage paths

    Separate seal leakage from media and desorption problems

    Media condition should be evaluated after bypass paths and measurement errors are addressed. Review inlet contaminants, particulate or aerosol loading, humidity, adsorption temperature, desorption temperature profile and residence time. A uniformly degraded response may support a media or regeneration hypothesis; a position-linked or pressure-sensitive response more strongly supports a mechanical path, but neither conclusion should rest on trend shape alone.

    If a controlled tracer or traverse test is considered, define the test material, injection point, detection method, process compatibility and safety approval in advance. Do not introduce an unapproved substance into a VOC system. Preserve baseline and post-adjustment data so the result is attributable.

    Define repair and procurement acceptance evidence

    A repair scope should state the seal material and profile, attachment method, allowable cold and hot clearances, rotor runout limit, adjustment method, access requirements and responsibility for correcting support or casing defects. Ask whether replacement seals are compatible with the actual temperature and contaminant exposure, not merely dimensionally similar.

    Before release, require an inspection record, indexed clearance measurements, fastener and adjustment checks, clean rotation evidence, restored guards, pressure-map comparison and a controlled operating verification. Agree in advance how inlet/outlet sampling, production stability and analyzer timing will be handled. This prevents an ambiguous post-repair result from becoming a dispute over media, seals or process conditions.

    FAQ

    Does high outlet VOC prove that the zeolite rotor media is exhausted?

    No. Seal bypass, sector pressure imbalance, incorrect purge flow, sampling delay, desorption instability and changing inlet load can produce similar symptoms. Verify these boundaries before concluding that the media requires replacement.

    Can rotor RTO seal leakage be found by visual inspection alone?

    Visual evidence is useful but incomplete. Seal gaps become significant through the pressure driving force, and some defects appear only at certain rotor positions or hot operating clearances. Combine inspection with pressure, rotation and VOC evidence.

    Should rotor speed be increased to compensate for carryover?

    Not until the cause is understood. A speed change affects adsorption and desorption residence time and can mask or worsen another problem. Use only approved operating limits and change one variable at a time.

    What should a seal replacement quotation include?

    It should define seal profile and material, quantities, access and labor boundaries, rotor alignment and runout checks, casing corrections, adjustment criteria, commissioning measurements, exclusions and acceptance evidence.

    Conclusion

    Rotor RTO seal leakage should be proved as a mechanical and pressure-boundary problem, not inferred from one outlet reading. A structured operating case, indexed inspection, pressure map and controlled verification help buyers distinguish a focused seal or alignment repair from unnecessary media replacement. SERNO can help review rotor concentrator inspection scopes, interface boundaries and acceptance evidence for new or upgraded VOC treatment systems.

  • RTO Pressure Instrument-Line Inspection: Verify the Signal Before Changing the Process

    RTO Pressure Instrument-Line Inspection: Verify the Signal Before Changing the Process

    RTO Pressure Instrument-Line Inspection: Verify the Signal Before Changing the Process

    An RTO draft or differential-pressure value can look authoritative while the sensing path is partly blocked, wet, leaking or incorrectly isolated. Acting on that bad signal may lead a team to change fan frequency, damper position or production rate without correcting the real fault. A disciplined RTO pressure instrument line inspection verifies the process connection, impulse tubing, manifold, transmitter and control-system value as one measurement chain.

    SERNO RTO equipment during pressure instrument-line inspection and commissioning

    Start with the measurement purpose

    Identify what the instrument is supposed to prove. Common points include combustion-chamber draft, filter differential pressure, ceramic-bed pressure loss, fan suction or discharge pressure, and duct pressure used for process interlocks. Confirm the engineering units, normal range, alarm limits, tapping-point location, transmitter range and whether the reading is gauge, absolute or differential pressure.

    Use the P&ID, instrument index, loop diagram, hook-up drawing and cause-and-effect chart. Record any mismatch between the documents and the installed tubing. A technically correct transmitter connected to the wrong tap still produces misleading evidence.

    Compare the signal with the operating case

    Before opening a line, capture a stable operating snapshot: fan frequency, damper positions, production load, exhaust temperature, filter condition, valve sequence and related pressure points. Look for a physically consistent pattern. For example, a filter differential-pressure reading that remains perfectly flat while airflow changes deserves investigation; so does a chamber draft signal that steps abruptly without a corresponding fan or damper event.

    Trend the local display, PLC value and any independent reference at the same time. A disagreement can help separate a process-side sensing problem from scaling, wiring or data-handling errors.

    Inspect the complete pressure-sensing path

    Work from the process toward the transmitter. Check the process tap for deposits, corrosion, damaged fittings and unsuitable orientation. Examine impulse tubing for low points, crushed sections, heat damage, loose supports, vibration wear and unapproved modifications. Verify root valves, equalizing valves and drain or vent points against the approved hook-up.

    Condensate is a frequent source of bias in hot, humid or cyclic exhaust service. A liquid leg can add head pressure, move as the plant warms, or block a small-bore connection. Dust and sticky VOC residue can create a slow response that resembles a stable process. Do not clear a tap by applying uncontrolled air pressure into process equipment; use the site-approved isolation, cleaning and permit procedure.

    Distinguish blockage, leakage and transmitter error

    Different faults leave different clues. A blocked line often produces a frozen or slow response. A leak may pull the value toward atmosphere or create noise that changes with vibration. Condensate can create drift during heat-up and cooldown. An incorrectly operated manifold may cause a differential-pressure transmitter to read near zero even when the process boundary is restricted.

    After safe isolation, test the sensing path in sections where the procedure allows. Confirm continuity, leak tightness and valve position. Then check transmitter zero, span and damping with calibrated equipment. Calibration alone is not proof of a healthy measurement: a transmitter can pass on the bench while the process tap remains obstructed.

    Control the return to service

    Restore the line using a defined valve sequence so the transmitter is not over-ranged and trapped gas or liquid is not left in the impulse path. Confirm all caps, plugs, drains, vents, heat tracing and supports are restored. Compare the local output, PLC value and expected process response at low load before relying on the signal for automatic control or permissives.

    The release record should include as-found valve positions, photographs, cleaning method, leakage result, calibration data, restored configuration, independent comparison and the person who authorized return to service. If the measurement affects a burner safety or emergency-shutdown function, apply the site’s instrumented-protection and proof-test requirements.

    Procurement and maintenance scope questions

    Ask who supplies process taps, root valves, tubing, manifolds, supports, heat tracing, calibration certificates and commissioning labor. Define the tubing material and routing standard, accessible drain points, freeze or condensation protection and allowable response time. Require tag numbers and hook-up details in the vendor document register.

    For retrofit projects, include verification of existing tap locations and PLC scaling. A quotation that includes the transmitter but excludes tapping, isolation hardware or cable and logic changes may leave the buyer with an incomplete measurement boundary.

    Technicians checking RTO pressure taps, valves and instrument connections

    FAQ

    Can transmitter calibration fix an unstable RTO pressure reading?

    Only if the transmitter is the fault. Calibration does not remove a blocked process tap, condensate pocket, leaking fitting, incorrect manifold position or PLC scaling error.

    Should impulse lines slope continuously?

    They should follow the approved hook-up for the service so gas or liquid does not become unintentionally trapped. The correct direction and provisions depend on the measured medium, temperature and installation design.

    What evidence is needed before changing fan frequency?

    Confirm the pressure signal against operating data and, where practical, an independent reference. Record the measurement-chain condition before using the value to justify a fan or damper change.

    What belongs in an RTO pressure instrument inspection record?

    Include the tag, process location, as-found condition, valve positions, line-cleaning evidence, leak test, calibration result, PLC comparison, restored configuration and controlled restart observations.

    Conclusion

    A useful RTO pressure instrument line inspection proves that the number represents the process before anyone changes the process to match the number. SERNO can help normalize instrument-boundary drawings, inspection evidence and acceptance criteria for a new, upgraded or restarted RTO system.

  • RTO Insulation and Cladding Inspection: Find Heat-Loss Evidence Before It Becomes a Capacity Problem

    RTO Insulation and Cladding Inspection: Find Heat-Loss Evidence Before It Becomes a Capacity Problem

    RTO Insulation and Cladding Inspection: Find Heat-Loss Evidence Before It Becomes a Capacity Problem

    Insulation damage on an RTO is easy to treat as a cosmetic issue. Missing cladding, wet lagging or an exposed expansion joint can instead increase shell temperature, waste fuel, create personnel hazards and hide a deeper refractory or casing problem. The inspection should connect visible condition to operating evidence and repair release criteria.

    Technicians inspecting RTO insulation and cladding with an infrared camera

    Define the inspection boundary

    Start with the equipment layout, insulation specification, hot-surface limits, fire-protection requirements and previous repair records. Mark the combustion chamber, valves, ducts, transition pieces, doors, expansion joints, stacks and instrument penetrations. Record which surfaces are intentionally hot and which should remain insulated; this prevents a blanket temperature survey from producing false alarms.

    Map heat-loss evidence

    Inspect during a stable operating case when safe and permitted. Combine infrared readings with ambient temperature, load, airflow and fuel data. Photograph each abnormal area with a reference point and record distance, emissivity assumptions and weather conditions. A high reading at a flange may indicate missing insulation, air leakage, a loose cladding seam or an internal refractory issue; do not assign the cause from temperature alone.

    Check cladding, seams and penetrations

    Look for open seams, detached bands, corrosion, sharp edges, oil contamination, water paths and wind damage. Pay special attention to manways, thermocouples, sight ports, burner tiles, support clips and expansion joints. Verify that removable blankets and access panels are refitted without crushing insulation or blocking drains. Penetrations should be sealed according to the approved design while allowing intended thermal movement.

    Separate insulation repair from refractory risk

    If shell temperature remains abnormal after external insulation is restored, escalate for refractory, casing or gas-flow investigation. Compare readings around the area, trend them at the same operating point and check for draft or oxygen changes. This staged diagnosis avoids using insulation work to mask a hot spot that can damage the vessel or distort process performance.

    Release repairs with evidence

    The close-out package should include marked-up photos, material and thickness records, fastener or banding checks, surface-temperature recheck, worker-safety confirmation and any permit-required inspection. Define acceptance limits before the work starts. Recheck after a controlled heat-up because cladding can shift, moisture can flash off and small gaps can open during thermal cycling.

    Buyer and maintenance checklist

    Ask who owns access, scaffolding, insulation removal, hazardous-area controls, waste handling and final measurement. Require the contractor to identify the repair material, expected service temperature, weatherproofing method and warranty boundary. Tie payment or handover to evidence rather than appearance alone.

    Close inspection of an RTO insulation cladding seam and expansion joint

    FAQ

    Is an infrared camera enough?

    No. It is a screening tool. Readings need operating context, repeatability and follow-up inspection of the physical boundary.

    Should all hot spots trigger an outage?

    Not automatically. Rank them by temperature, location, trend, personnel exposure, refractory risk and permit limits, then define a controlled response.

    What should a repair package contain?

    Marked-up condition photos, measured temperatures, approved materials, thickness or installation records, safety checks and a post-heat-up verification.

    Conclusion

    An RTO insulation and cladding inspection is most useful when it proves where heat is leaving, why the evidence is credible and whether the repair survives a controlled restart. SERNO can help normalize the inspection scope, evidence matrix and acceptance criteria for an RTO project.

  • RTO Bypass Damper Inspection: Verify Safe Diversion Before a Trip

    RTO Bypass Damper Inspection: Verify Safe Diversion Before a Trip

    RTO Bypass Damper Inspection: Verify Safe Diversion Before a Trip

    An RTO emergency bypass can protect a production line or exhaust system during defined abnormal conditions, but only if the complete diversion function works. A damper that moves during a workshop test may still fail under process pressure, leak in normal operation, discharge to an unsafe location or receive the wrong command during a real trip.

    Technicians inspecting an RTO bypass damper actuator and diversion duct

    The inspection boundary therefore extends beyond the damper blade. It includes the actuator, position feedback, power source, control sequence, duct supports, weather protection, discharge point and the operating rules that determine when bypass is permitted. Environmental and safety requirements vary by jurisdiction and permit, so the acceptable use of bypass must come from the site authorization and approved cause-and-effect documentation.

    Define the approved bypass function first

    Start with the current process description, permit conditions, hazard review and cause-and-effect matrix. Identify every condition that may command the bypass, the intended fail position, the required response of production equipment and the operator actions that follow. Do not assume that all RTO trips should automatically divert untreated exhaust; some sites require production isolation or a different controlled response.

    Confirm the design basis for maximum airflow, temperature, pressure and expected duration. Record whether the bypass serves equipment protection, personnel safety, process stability or a combination of these purposes. A clear functional statement prevents a mechanical test from being mistaken for proof of legal or operational acceptability.

    Inspect the damper and duct boundary

    With the system safely isolated under the site’s procedures, inspect the blade, shaft, bearings, seals, stops and casing. Look for corrosion, deposits, distortion, loose hardware, rubbing, heat damage and signs that the blade does not reach its mechanical end position. Check access doors and nearby duct joints for leakage evidence.

    Inspect the surrounding duct supports and flexible connections. A damper can bind when thermal movement, settlement or duct load shifts the casing. Verify that drains, weather hoods and rain protection cannot introduce liquid or debris into the mechanism. Photograph reference marks at both commanded positions so later movement can be compared.

    Prove actuator power and fail-state behavior

    Record the actuator type, available torque or thrust basis, stroke time, power source and local override arrangement. Inspect air supply quality and reserve capacity for pneumatic units; inspect cable condition, overload protection and emergency supply for electric units. Confirm that the actuator is securely coupled to the shaft and that the linkage does not over-center or run out of travel.

    Test loss-of-power behavior only through an approved procedure. The observed fail position must match the hazard review and control narrative. If stored energy, spring return or accumulator pressure is required, verify its condition and monitoring rather than relying on the nameplate alone.

    Verify position feedback and control logic

    Command the damper from each authorized control location and compare the physical blade position with local indicators, limit switches, HMI status and historian events. A green “open” indication is not sufficient if it comes from the command bit instead of independent position feedback.

    Review permissives, time delays, alarm priorities and conflicting commands. Confirm how the RTO isolation damper, process exhaust fan, production line and bypass damper are sequenced to avoid deadheading, reverse flow or simultaneous unsafe paths. Any forced signal or temporary logic change used for testing should be controlled, recorded and removed before release.

    Inspect the full discharge path

    Walk the complete bypass route from the branch connection to the discharge point. Check for closed manual dampers, temporary blanks, construction debris, damaged expansion joints, inadequate supports and unauthorized connections. Verify that the outlet remains clear of air intakes, occupied work areas and ignition sources according to the approved site design.

    Where monitoring, sampling or event recording is required, confirm that the relevant instruments and clocks are available and synchronized. Do not infer compliance from a successful airflow test; discharge authorization, reporting obligations and maximum bypass duration must be checked against current site requirements.

    Run a controlled functional test

    A controlled test should use an approved sequence, defined starting conditions and responsible observers. Record command time, initial movement, full-position feedback, associated damper and fan responses, alarms, production response and restoration to normal service. Where a live-flow test is permitted, compare actual pressure and airflow response with the design basis.

    Stop the test if the system enters an unreviewed condition. Afterward, inspect for linkage movement, abnormal noise, casing distortion or leakage. Reconcile physical observations with the event log; unexplained timing or indication differences should be resolved before the bypass is released.

    Build a release record and maintenance trigger

    The release package should connect the approved function to physical evidence. Retain marked-up drawings, cause-and-effect references, inspection photographs, actuator data, position checks, functional-test results, deviations and signed dispositions. Record the next inspection trigger based on site procedure, operating history and environmental exposure.

    Avoid treating a calendar test as permanent proof. Corrosion, dust loading, freeze conditions, control changes and duct modifications can change the function between scheduled inspections. Add reinspection triggers after actuator work, logic changes, duct repairs, abnormal trips or long periods without movement.

    RTO bypass damper verification matrix

    Verification areaEvidence to collectRelease question
    Approved functionPermit basis, hazard review, cause-and-effectIs bypass allowed for this exact initiating condition?
    Mechanical boundaryBlade, shaft, seals, stops, casing photosDoes the blade reach both positions without binding?
    Actuator and utilitiesPower source, air pressure, stored energy, stroke timeWill it move under the defined failure condition?
    Position feedbackLocal mark, independent switches, HMI and event logDoes every indication match physical position?
    SequenceFan, isolation damper, production and alarm responseDoes the system avoid blocked or conflicting flow paths?
    Discharge routeDuct walkdown, outlet condition, monitoring readinessIs the complete route clear and approved for use?
    Close-outTest record, deviations, restoration and sign-offIs normal operation restored with no temporary overrides?
    Close inspection of an RTO bypass damper actuator, linkage and position feedback

    FAQ

    Is stroking the bypass damper with the process stopped enough?

    No. It confirms only part of the function. The test also needs to address feedback, sequencing, utilities, the discharge path and the approved response to the initiating condition.

    Should an RTO bypass damper fail open or fail closed?

    There is no universal answer. The required fail position depends on the process hazard, exhaust-system design, permit conditions and approved cause-and-effect analysis.

    Can HMI status prove that the damper is open?

    Only when the status comes from verified independent position feedback and agrees with the physical position. A displayed command bit does not prove blade movement.

    When should the bypass function be retested?

    Follow the approved site interval and add event-based tests after actuator work, control-logic changes, duct modifications, abnormal trips or conditions that may cause corrosion, deposits or freezing.

    Professional CTA

    SERNO can review RTO bypass-damper scope, cause-and-effect interfaces and functional-test evidence against the actual process and project requirements. Share the exhaust flow range, operating temperature, damper arrangement, trip philosophy and applicable site constraints for a project-specific technical review.

  • RCO Catalyst Bed-Depth Verification: Prove What Was Installed Before Performance Testing

    RCO Catalyst Bed-Depth Verification: Prove What Was Installed Before Performance Testing

    RCO Catalyst Bed-Depth Verification: Prove What Was Installed Before Performance Testing

    An RCO catalyst bed can look complete from an access opening while still containing the wrong installed quantity, uneven layer depth, damaged modules or undocumented substitutions. These conditions can change residence time, pressure drop and flow distribution, yet they are difficult to reconstruct after the vessel is closed.

    Technicians measuring RCO catalyst bed depth before vessel closure

    For a new installation, catalyst replacement or partial top-up, the useful question is not simply whether catalyst is present. The release decision should be based on traceable delivery records, an agreed loading plan, physical measurements and a documented final condition.

    Start with the approved loading basis

    Before opening packages, confirm the catalyst type, module or pellet dimensions, specified quantity, number of layers, nominal bed depth and vessel zones. Record approved substitutions and the person authorized to accept them. Do not infer installed volume from a purchase-order total alone: packaging, spare quantity and partial deliveries can create a misleading number.

    Create a loading map that divides the bed into identifiable rows or zones. Link each zone to batch or pallet references where practicable. This makes later damage, settlement or performance questions easier to isolate.

    Reconcile delivered and installed quantities

    Use packing lists, receiving records and retained labels to reconcile delivered, rejected, spare and installed quantities. Photograph package labels before disposal. For modular catalyst, record module counts and positions. For loose media, document bag or container counts and the controlled method used to estimate the final volume.

    A numerical reconciliation is evidence, not proof by itself. It should agree with the physical bed inspection and any retained spare stock.

    Measure bed depth and levelness

    Measure from stable reference points at multiple locations across the accessible bed. A single center measurement cannot reveal a low corner or a ridge created during loading. Record the measurement grid, tool, reference surface and actual readings rather than only writing “level.”

    Compare readings with the approved design tolerance. Any acceptance limit should come from the project specification or supplier documentation; it should not be invented during inspection. Investigate unexplained variation before adding material, because an apparent low area may indicate a support, seating or distribution problem below.

    Inspect module condition and interfaces

    Check for chipped corners, cracked blocks, crushed seals, open gaps and modules that are proud of adjacent rows. Verify that retainers and seals match the approved arrangement and do not obstruct the intended flow area. For layered beds, confirm that each layer was completed and accepted before the next layer concealed it.

    Keep loose debris out of catalyst passages. Where cleaning is required, use a method approved for the catalyst form and retain evidence of the final clean condition.

    Build a release record before closure

    The close-out package should contain the approved loading drawing, material certificates where required, packing and batch references, quantity reconciliation, measurement grid, photographs by zone, nonconformance dispositions and final sign-off. Photograph the completed bed with orientation references so the images remain meaningful later.

    Before closing the vessel, verify that tools, packaging and temporary protection have been removed. Record access-cover closure and any required leak check as separate steps.

    Connect loading evidence to startup data

    During initial operation, compare pressure drop, temperature profile and operating flow with the approved baseline. Loading evidence helps the team interpret an abnormal result without immediately blaming catalyst chemistry. It also gives buyers and suppliers a common factual record when a performance test requires investigation.

    SERNO can review RCO catalyst replacement scopes, loading records and performance-test readiness against actual process and project requirements. Share the gas composition, flow range, catalyst arrangement and available inspection evidence for a project-specific review.

    Close inspection of RCO catalyst modules and loading positions

    FAQ

    Is the purchase quantity enough to prove the installed catalyst volume?

    No. The purchase quantity may include spares, rejected packages or material not installed. Reconcile records with physical counts and bed measurements.

    How many bed-depth measurements are required?

    Use enough points to represent every relevant zone and reveal unevenness. The grid and tolerance should follow the approved design and inspection plan.

    Can catalyst be added immediately when one area reads low?

    First investigate the reason. A low reading may result from uneven loading, settlement, a support issue or the chosen reference point.

    What should be retained after the vessel is closed?

    Retain the loading map, quantity reconciliation, batch records, measurement grid, zone photographs, dispositions and signed release record.

  • RCO Catalyst Inlet Distributor Inspection: Prevent Channeling Before Performance Tests

    RCO Catalyst Inlet Distributor Inspection: Prevent Channeling Before Performance Tests

    RCO Catalyst Inlet Distributor Inspection: Prevent Channeling Before Performance Tests

    An RCO catalyst bed can be healthy while the gas reaching it is not evenly distributed. A displaced baffle, damaged perforated plate, blocked equalization path or bypass gap can create channeling. The result may look like catalyst deactivation, unstable outlet readings or an unexplained temperature profile.

    Engineer inspecting an RCO catalyst inlet distributor through an access door

    This guide sets an inspection boundary for the catalyst inlet distributor before a performance test or major troubleshooting decision. It separates verified observations from assumptions and gives the plant team a repeatable evidence pack.

    What the inlet distributor is expected to do

    The distributor should spread the process stream across the catalyst face, tolerate the design temperature, and preserve clearances during thermal cycles. Confirm the approved drawing, flow direction, access points and any specified inspection tolerances before judging field condition.

    Inspection sequence before opening the bed

    1. Lock out the RCO and verify zero-energy state, cooldown and atmospheric controls under the site procedure.
    2. Record recent operating cases: airflow, inlet temperature, VOC trend, pressure drop and damper positions.
    3. Photograph access covers, expansion joints and visible hot spots before removing hardware.
    4. Compare the installed arrangement with the latest approved drawing and change record.

    Field checks on plates, baffles and supports

    Inspect for warping, cracking, detached welds, erosion, deposits and foreign material. Check that perforations or slots are open and that no gasket, insulation fragment or loose fastener can migrate toward the catalyst. Measure distortion only with calibrated tools and record the reference points.

    Evidence that points to channeling

    Channeling becomes more credible when several independent clues agree: localized deposit patterns, asymmetric discoloration, a change in pressure drop without a matching airflow change, or repeatable outlet differences by operating case. A single thermocouple excursion is not proof. Correlate observations with flow, temperature and maintenance history.

    Repair and release decisions

    Define whether the issue is cleanable, adjustable or a replacement scope. The work pack should state who owns refractory removal, welding, NDE, gasket replacement and debris clearance. After repair, document torque or weld records as applicable, close all foreign-material controls and repeat the same operating case used for comparison.

    CheckpointRecord before release
    ConfigurationDrawing revision, installed orientation, changes
    ConditionPhotos, measured distortion, deposits, damage
    Flow pathOpen passages, clearances, bypass gaps
    SafetyIsolation, atmosphere, hot-work controls
    VerificationRepeatable case, pressure/temperature trends, sign-off

    Questions to ask an RCO supplier

    Ask for the distributor material and temperature basis, allowable distortion criteria, inspection access limits, recommended NDE, and the evidence required to accept a repaired boundary. Request assumptions in writing when the original design record is incomplete.

    Close inspection of an RCO catalyst inlet distributor plate and flow passages

    FAQ

    Can channeling be confirmed from outlet VOC data alone?

    No. Outlet data can trigger an investigation, but confirmation requires a boundary inspection and correlation with airflow, temperature and configuration evidence.

    Should the catalyst be replaced first?

    Not automatically. Prove the inlet-distribution path, measurement validity and operating case before assigning the cause to catalyst activity.

    What is the minimum handover package?

    At minimum: marked-up drawing, dated photographs, condition measurements, repair records, foreign-material clearance and a repeatable post-work operating record.

    Plan the next inspection with SERNO

    SERNO can help structure an RCO inspection scope around your actual access, operating history and evidence requirements. Share the available drawings and trend records to define a reviewable work pack; no performance claim is implied until site data is verified.

  • RCO Catalyst Support-Screen Inspection: Find Bypass Paths Before They Distort Performance

    RCO Catalyst Support-Screen Inspection: Find Bypass Paths Before They Distort Performance

    RCO Catalyst Support-Screen Inspection: Find Bypass Paths Before They Distort Performance

    Support screens, retainers and sealing boundaries keep catalyst media in the intended flow path. A damaged screen or bypass gap can create maldistribution, pressure-drop changes and unexplained performance drift. This guide gives plant teams an evidence-led inspection method before an outage or catalyst-service decision.

    Engineer inspecting an RCO catalyst reactor access boundary

    What the support boundary does

    The support boundary distributes gas, retains media and separates catalyst from downstream equipment. It does not by itself prove catalyst activity or destruction efficiency. Treat it as one part of the mechanical and process evidence set.

    Define the inspection boundary

    Record vessel tag, bed elevation, screen or grid type, retainer hardware, access points, gasket or seal locations and the last maintenance date. Confirm isolation, cooldown, atmosphere testing and confined-space controls under site procedures.

    Evidence to collect before opening

    Capture differential pressure, airflow basis, temperature profile, alarm history and recent process changes. Photograph accessible external indicators and preserve drawings, previous inspection notes and media-loading records.

    Inspect screens, retainers and seals

    Look for bowed panels, broken welds, displaced retainers, erosion, corrosion, gasket extrusion, open edge gaps and evidence of catalyst migration. Do not disturb media merely to improve a photograph; follow the approved inspection method.

    Recognize bypass-path symptoms

    A localized temperature shift, unexplained downstream dust, changing pressure drop or a performance change after maintenance may justify a boundary review. Correlate symptoms with airflow and operating state before assigning the cause to catalyst age.

    Build a repair decision record

    Record location, defect description, dimensions where approved, photo reference, consequence, temporary control and recommended repair owner. Separate observation from interpretation and identify what evidence is still missing.

    Questions for an RCO supplier

    • What screen loading and deflection limits apply to this bed?
    • Which seal and retainer details are part of the approved design?
    • How should displaced catalyst or fines be assessed after a boundary defect?
    • What inspection evidence is required before restart?
    Technician documenting an industrial VOC treatment inspection

    FAQ

    Can a pressure-drop change prove a broken support screen?

    No. Pressure drop is a useful signal, but it must be correlated with airflow, loading, fouling and inspection evidence.

    Should catalyst be removed for every screen inspection?

    Not necessarily. Use the least intrusive approved method and escalate only when the evidence and site procedure justify it.

    Is a visual inspection enough for restart?

    Restart release should follow the site’s documented mechanical, process and safety checks, with qualified personnel reviewing open items.

    Conclusion and CTA

    A documented support-screen inspection can prevent a vague performance concern from becoming an unplanned outage. SERNO can help structure the inspection boundary, evidence sheet and supplier questions for an industrial VOC treatment review.

  • RCO Catalyst-Bed Pressure Drop: Prove Fouling Before It Restricts the Process

    RCO Catalyst-Bed Pressure Drop: Prove Fouling Before It Restricts the Process

    RCO Catalyst-Bed Pressure Drop: Prove Fouling Before It Restricts the Process

    An RCO reactor can show acceptable outlet readings while a local catalyst-bed hotspot is developing. A defensible diagnosis starts with a repeatable temperature profile, not a single display value. This guide explains how plant teams can collect comparable evidence, separate instrumentation error from catalyst or airflow problems, and define a safe next action.

    Engineer documenting Technician recording an RCO catalyst reactor temperature profile

    What a temperature profile can—and cannot—prove

    A profile shows how heat is distributed across the monitored boundary. It does not, by itself, prove catalyst activity, destruction efficiency, or a specific contaminant. Treat it as a screening and trend tool that must be interpreted with flow, VOC load, oxygen, pressure drop and operating-state records.

    Establish the measurement boundary

    Record sensor tag, location, insertion depth, calibration status, scan interval and reactor operating state. Compare upstream, bed-inlet, inter-bed where available, bed-outlet and exhaust temperatures using the same time window. Note whether the unit is ramping, switching, bypassing or at steady load.

    Build a repeatable profile sheet

    FieldMinimum record
    Operating statesteady, ramp, regeneration or bypass
    Process conditionsairflow, VOC load basis, oxygen, pressure drop
    Temperature pointstag, physical location, value and timestamp
    Instrument evidencecalibration date, alarm history, wiring check
    Contextrecent maintenance, solvent change, condensate or dust event

    Use the same points and sequence on every round. A trend becomes useful only when the measurement method is stable.

    Separate sensor problems from real hotspots

    First compare redundant sensors or a calibrated reference where the procedure allows. Check loose thermowells, drift, response lag, scaling and signal conditioning. A step change isolated to one channel is more consistent with instrumentation than with a full-bed thermal event. Do not defeat interlocks or enter restricted areas to obtain a reading.

    Interpret common profile patterns

    Localized high point

    A persistent high point can indicate uneven airflow, local VOC concentration, channeling or catalyst condition changes. Confirm the point across multiple steady-state rounds before escalating.

    Broad downstream rise

    A broad rise may reflect shifted reaction location, altered heat recovery or a changed load. Review airflow and VOC trend together rather than assigning the cause to catalyst age alone.

    Flattened or unusually cool profile

    Check sensor response, dilution air, bypass position and low-load operation. A cool profile is not proof that catalyst is inactive.

    Use corroborating evidence before opening scope

    Pair the profile with pressure drop, fan operating point, inlet concentration basis, oxygen, alarm history and maintenance records. If the profile changes after a process solvent or pretreatment change, preserve that timeline. For catalyst service decisions, request supplier-defined sampling or test criteria rather than relying on a visual impression.

    Define safe decision gates

    Escalate when a repeatable abnormal trend crosses the site’s approved alarm or operating limit, when redundant evidence agrees, or when the profile changes with unexplained process conditions. The response may be continued monitoring, instrument repair, airflow inspection, load reduction or a planned outage assessment. Site procedures and qualified personnel govern the final action.

    Questions to ask an RCO supplier

    • Which temperature points are included in the guaranteed monitoring boundary?
    • What calibration and replacement method is specified for each sensor type?
    • Which profile patterns trigger inspection, sampling or catalyst replacement review?
    • How are airflow maldistribution and pretreatment events separated from catalyst deactivation?
    Technician verifying an RTO burner low-pressure switch and valve feedback

    FAQ

    Is one high temperature reading enough to condemn the catalyst?

    No. Confirm the sensor, repeat the measurement and correlate the point with operating and process evidence.

    How often should a profile be recorded?

    Use the site’s risk-based procedure and record more frequently during commissioning, after process changes or when trends are unstable.

    Can temperature alone prove VOC destruction performance?

    No. Performance verification requires the site’s approved sampling and analysis method under defined operating conditions.

    Conclusion and CTA

    A disciplined RCO temperature profile turns an alarming display into evidence that maintenance and engineering teams can act on. SERNO can help define the measurement boundary, data sheet and inspection questions for an industrial VOC treatment review. Share your process range, airflow basis and current instrumentation map for a scoped discussion.