 Request Proposal
RTO Access-Door Seal Leakage: Diagnose the Boundary Before Replacing the Gasket
An RTO access door is part of the process boundary. A small leak can pull ambient air into the train, release hot gas to the work area, disturb pressure readings, or create an outage that was incorrectly blamed on the media or burner. Replacing a gasket without proving the leak path often produces a short-lived repair.

This guide gives maintenance, EHS, engineering and procurement teams a repeatable way to diagnose the boundary. It focuses on observable condition, pressure context, closure geometry, repair scope and controlled release. Use the approved site procedure, isolation plan and manufacturer documentation for any live inspection.
1. Define the door boundary and safe inspection state
Mark the door tag, frame, hinges, latches, gasket channel, refractory edge and adjacent casing on the walkdown sheet. Record whether the door is on a hot chamber, valve gallery, fan section or clean-air side. Before opening or touching the boundary, confirm isolation, cooldown, lockout/tagout, zero-energy checks and atmospheric controls required by the site.
Do not infer leakage from odor alone. Note the process condition, chamber pressure, fan state and temperature when the symptom occurs. A door can appear tight at ambient conditions and leak after thermal growth changes the frame load.
2. Separate symptoms from evidence
Capture the symptom and the evidence that supports it:
| Observation | Possible mechanism | Evidence to collect |
|---|---|---|
| Soot or dust track at one corner | Local gap, distorted frame or latch load | Cleaned surface, photo, latch position |
| Hot spot outside the door | Refractory loss, casing gap or gasket failure | IR/temperature record with operating state |
| Ambient-air ingress on a negative-pressure train | Door seal or adjacent casing path | Pressure reference, smoke method if approved |
| Repeated gasket crushing | Over-tight latch, hard stop or wrong section | Gasket cross-section, latch travel |
| Leak returns after replacement | Frame movement or wrong material/geometry | Old/new dimensions, closure check, thermal history |
Treat these as hypotheses until the boundary and pressure condition are documented.
3. Inspect gasket material and channel condition
Record gasket material, cross-section, joint location, compression marks, hardening, cuts, blistering, contamination and missing sections. Check whether the gasket sits continuously in its channel or has migrated during previous maintenance. A clean-looking surface does not prove resilience after heat exposure.
Inspect the channel for corrosion, weld spatter, refractory fragments, paint buildup and sharp edges. Measure the channel width and depth at several points and compare them with the approved drawing or supplier data. Photograph a scale beside the measurement; do not rely on memory when ordering replacement stock.
4. Check frame, hinge and latch geometry
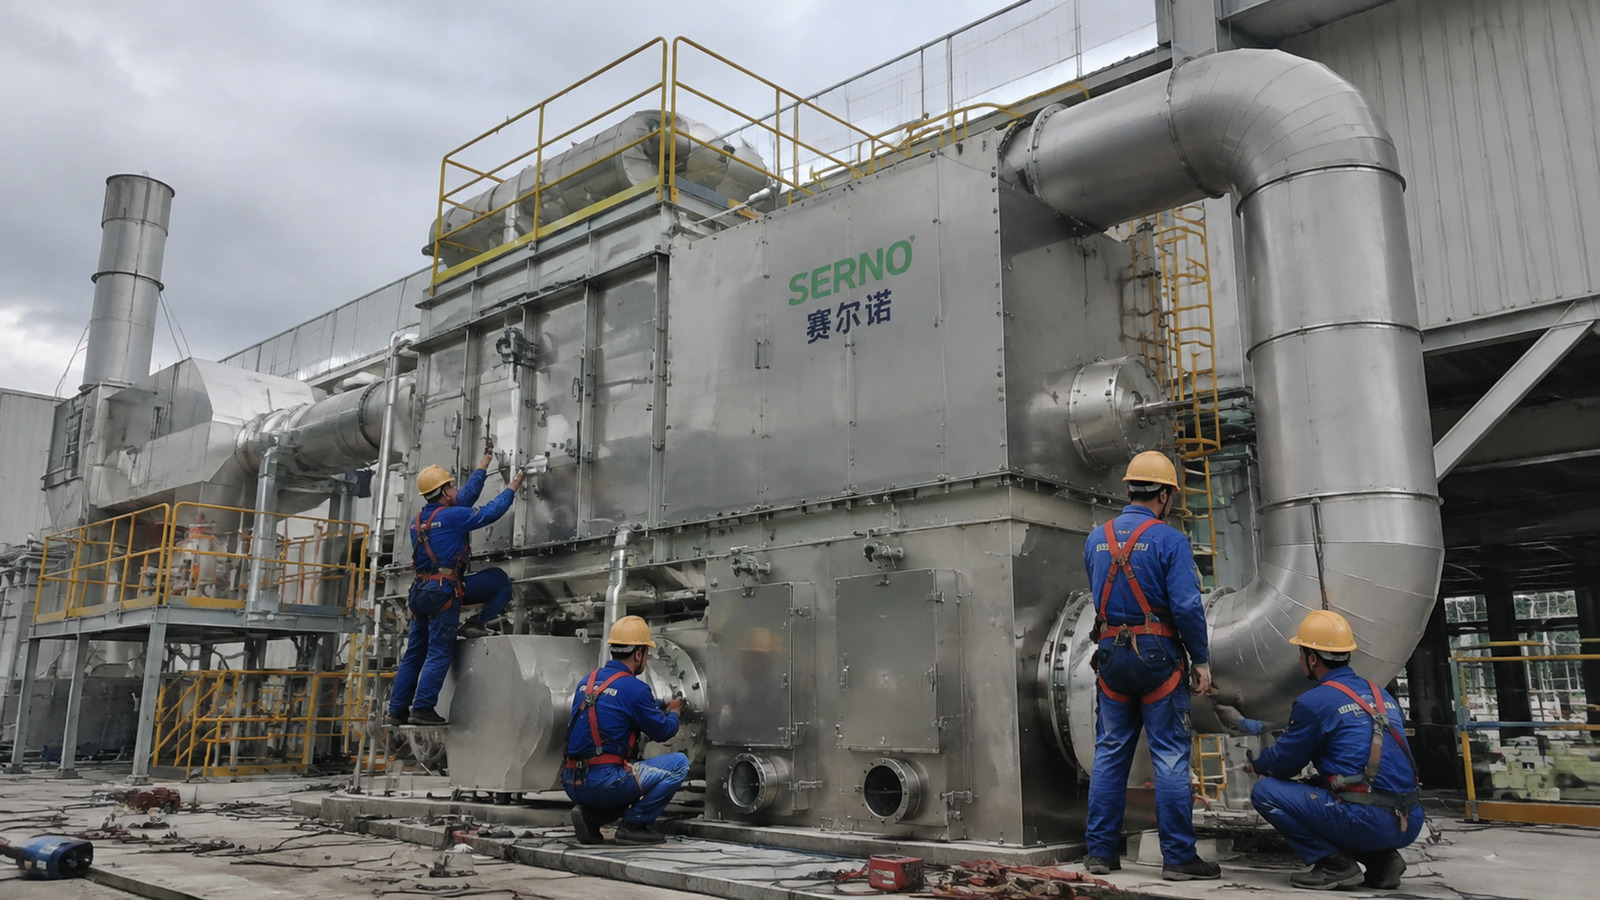
Use a straightedge or documented gauge to check frame flatness and corner alignment. Look for hinge sag, elongated bolt holes, bent latch arms, uneven keeper contact and evidence that one latch is carrying the entire preload. Measure the closed-door gap at repeatable clock positions and record latch settings.
The repair scope may be a frame correction, hinge adjustment, latch replacement, channel repair, refractory edge repair or gasket replacement. List each as a separate line item so a quotation does not hide a structural correction inside a consumable price.
5. Reproduce the pressure and temperature context
A leak test at a cold, isolated door answers a different question from a leak observed during operation. Record chamber pressure relative to the reference point, fan status, damper position and local temperature. If an approved smoke, tracer or pressure-decay method is used, record its limitations and acceptance basis.
Do not invent a universal leakage limit. Use the project design basis, OEM instructions and site EHS procedure. Where no acceptance criterion exists, define a controlled engineering decision with the responsible owner before returning the train to service.
6. Verify the repair before restart
After correction, repeat the dimensional checks, closure sequence and approved leak check. Confirm that the gasket is not pinched, the latches reach the intended position without excessive force, and adjacent insulation or cladding has not been disturbed. Recheck the door after the first controlled heat-up if the procedure requires a hot inspection.
Release evidence should include before/after photographs, measurements, part identity, torque or latch-setting record, test conditions, deviations and approving roles. Connect the result to the operating log so a future pressure or temperature anomaly can be traced to a known boundary condition.
7. Build a procurement-ready repair scope
Specify door tag and location, gasket profile and material basis, estimated quantity plus approved contingency, channel or frame work, hinge/latch parts, insulation or refractory touch-up, access equipment, inspection hold points, documentation and warranty boundaries. Ask suppliers to state assumptions rather than accepting “replace seal” as a complete scope.
Minimum field record
- Door and equipment tag, location and service
- Isolation, cooldown and atmospheric checks
- Gasket dimensions, material condition and channel measurements
- Frame flatness, gap readings, hinge and latch observations
- Pressure, temperature and test method
- Repair parts, photos, deviations and release signatures
FAQ
Does a damaged gasket always explain an access-door leak?
No. Frame distortion, hinge sag, latch preload, refractory damage and pressure direction can create or amplify the leak. Diagnose the whole boundary before selecting parts.
Can a cold inspection prove the door is tight in operation?
No. Thermal movement and operating pressure can change the gap. A cold check is useful baseline evidence, but the approved operating-condition verification still matters.
Should procurement buy extra gasket length automatically?
Use the approved bill of material and a documented contingency. Record profile, joint method and storage requirements so surplus does not become an untraceable substitution.
What should be in the handover record?
Include measurements, photos, material identity, latch or torque settings, test conditions, deviations and approval. This lets later teams distinguish a new leak from an old unresolved condition.
Professional CTA
Planning an RTO outage or investigating a recurring access-door leak? SERNO can help define the inspection record, repair boundary and procurement scope. Share the door tag, service condition and current drawings for an engineering discussion.